Project Wonderful

Wednesday, October 2, 2013

Chocolate Chip Pumpkin Bread

There are hundreds of recipes for pumpkin bread out there. Here's one of them.

The recipe was originally stolen from Betty Crocker, but I've made a few changes to it. Specifically, there are no walnuts. I hate those damn things. Nasty little pockets of savory flavor in an otherwise wonderfully sweet and decadent cake-like texture. Horrible little things. Satans boogers. 

So if you are a fan of walnuts, you can add them if you want, but expect a lot of scorn and ridicule from me if you do.

Also, Betty Crocker says this recipe makes two loves. I'm not sure what ol' Betty is smoking, because I had enough to make three loaves with this batch.

Ingredients:

4cups  all-purpose flour
2tsp  baking soda
1tsp  salt
1tsp ground cinnamon
1/2tsp ground nutmeg
2cups sugar
3/4cup butter, softened
4eggs
1/2cup water
2 cups of pumpkin puree (you can use the canned crap if you want, but why?)
1cup plus 2 tablespoons miniature semisweet chocolate chips
2tsp sugar


First, preheat the oven to 350 (and remember to remove the cast iron pan you keep in it before doing anything else.)

Grease the bottom (just the bottom) of three regular sized loaf pans. I rub the end of a stick of butter onto the bottom of the pan. This seems to work pretty well.


In a large bowl, add the flour, baking soda, salt, cinnamon, and nutmeg and mix until they are all combined. Set this aside.


Take the two cups of sugar and the softened butter and whip them till its creamed together.

Then add the four eggs, one at a time into the mix. Mix each egg in completely before adding the next egg. 

Add the pumpkin and the water, then slowly add the flour mix and mix on low until everything is combined.

Add about a cup of mini chocolate chips. Save a couple tablespoons of the chips.

Mix until everything is together. 

Pour the batter into each loaf pan. Add a little bit at a time until all the pans are even.
You will want to leave room for the batter to expand, so dont fill them to the top.

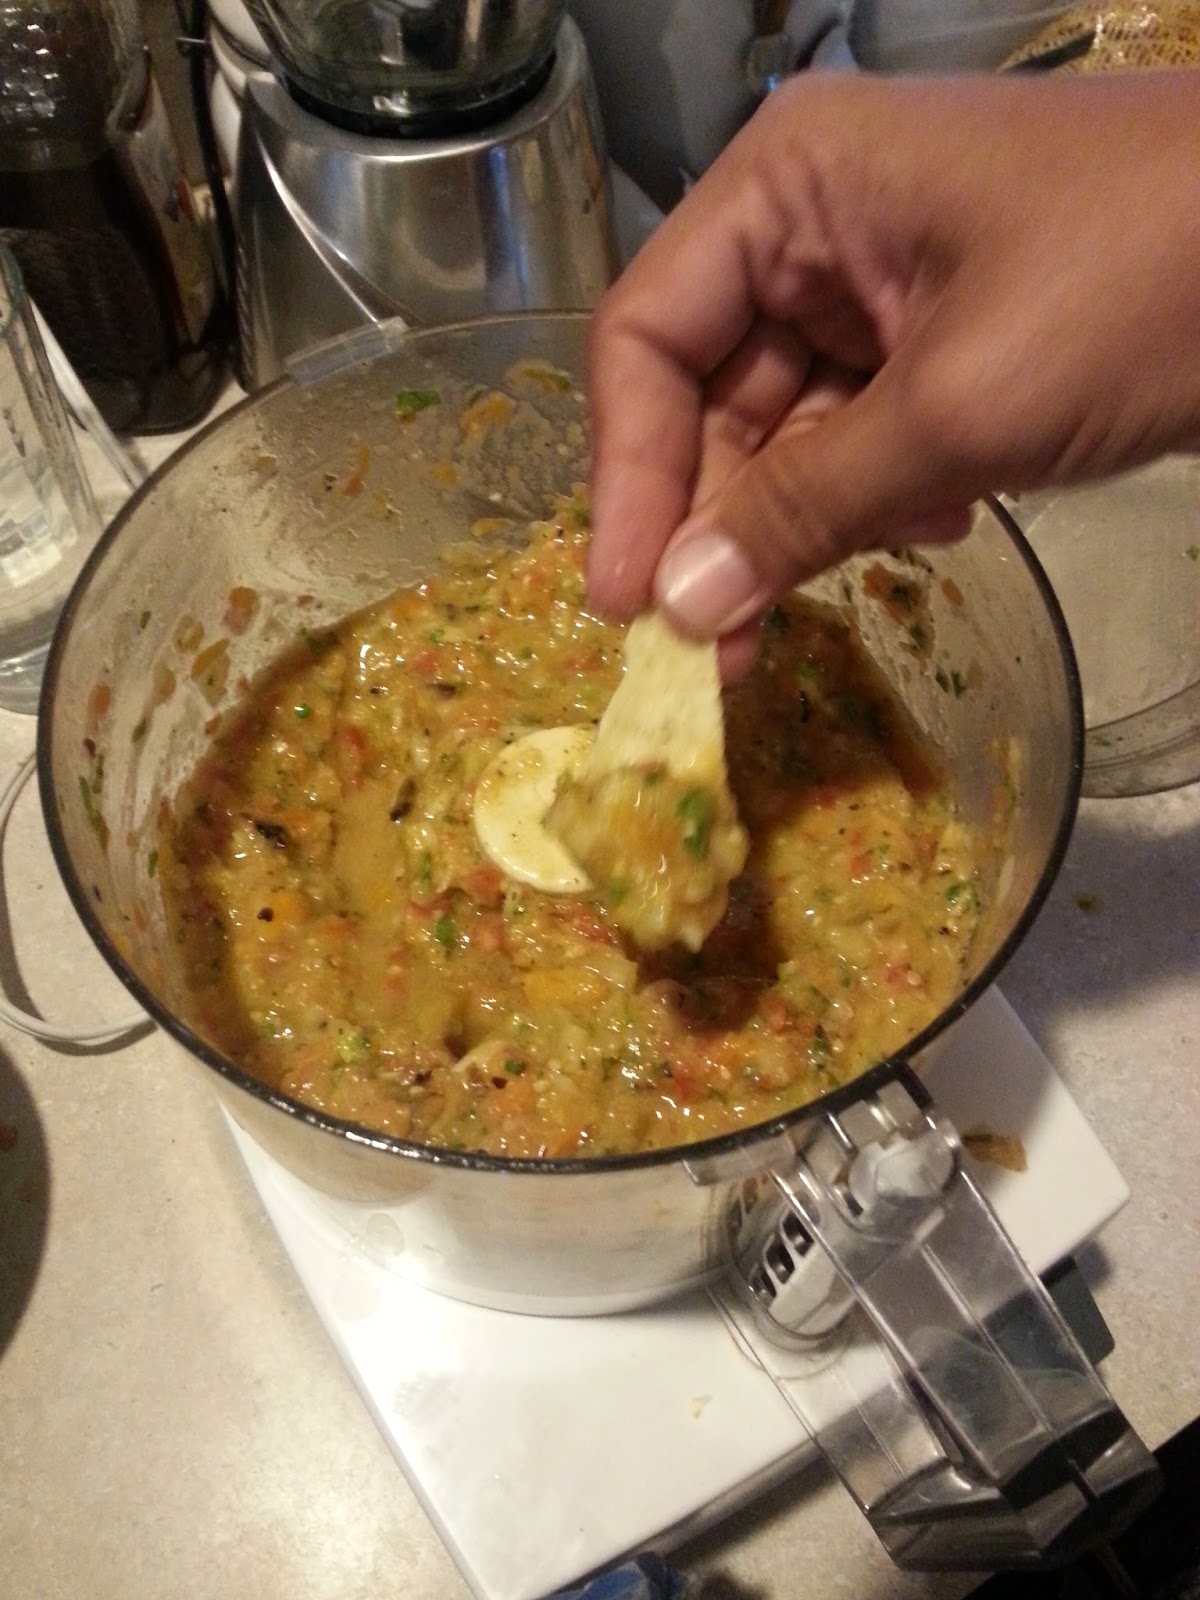
About this time, hand your bowl, mixer blades and spatula to your loving significant other.
Because you are awesome that way. 

Spread out the batter so its even and smooth. Clean up the edges whichever way is the best tasting.


Take the remaining two tablespoons of mini chocolate chips and sprinkle them over the top.
Then sprinkle the sugar over everything.

Into the 350 degree oven for about 1 hour and 5 minutes. It may need to go to 1:15. Just keep an eye on it.

Poke a toothpick through the bread. If it comes out clean, they're done.


Now the hard part: Let these cool for about an hour before cutting into them.

The end result. It was a very light and cake-like. Not at all like a typical pumpkin bread.

The chocolate chips add a nice touch. 


Enjoy!


Monday, September 30, 2013

Easy Pumpkin Soup

Summer's harsh grip has loosened on the city of the violet crown and Fall is quietly tapping on our shoulders with a welcomed smile. And as the seasons transition, my culinary curiosity shifts to the idealic icon of Fall: the humble pumpkin.

Most people dont think about it, but the US grows over 1.5 billion pounds of pumpkin every year, making it one of the most popular of all cultivated crops in the country. Its also the biggest exporter of pumpkins internationally.

The word pumpkin originates from the word pepon (πέπων), which is Greek for “large melon". The French adapted this word to pompon, which the British changed to pumpion and later American colonists changed that to the word we use today, "pumpkin". -Wikipedia


Right around Christmas, most grocery stores cant wait to get rid of their stock, so last year we picked up a couple of standard jack-o-lantern type pumpkins at next to nothing. We spent the evening drinking wine, making jack-O-lanterns and listening to my yearly mix of Halloween music (Screamin Jay Hawkins, Danny Elfman, etc.). And of course, I toasted up the seeds in a sweet praline style to munch on. (I'll post that recipe soon.)

The next day, it was time to slaughter our new holiday friends. The end result: several pounds of wonderfully roasted pumpkin puree that lasted us completely through the winter season, with still a lot left over.

So this Fall, Expect a good assortment of ways to cook with pumpkin.  And why not? It's inexpensive, flavorful, and a great source of Vitamin A, which helps keep your immune system working good, great for the eyes, and even helps prevent the formation of urinary stones. And did I mention it's dirt cheap?

So here's a recipe for a simple pumpkin soup that is perfect for those cool Fall nights This is just enough for two people, but its easy to scale this up to whatever number of portions you need:

3 cups chicken stock
2 cups pumpkin puree
1/2 cup of chopped onion
4/4 tsp salt
1/4 tsp of fresh thyme
1 clove of garlic
2-5 whole black pepercorns.
1/3 cup half and half
1/2 tsp chopped parsley

This recipe is pretty simple:
Toss everything but the parsley into a pot and bring it to a boil.
Reduce it to simmer for 30 minutes.

At the end of the first simmer, take the soup and run it through a blender until its completely smooth. 


A word of warning: Tossing the soup into a blender all at once could cause the mix to explode all over your kitchen. A better way is to run in small batches, one at a time until all the soup is blended.


Don't cover the blender completely.
Instead pull out that center fill top and place a towel lightly over the opening to allow the steam to escape. 


Pour the blended soup into a separate bowl until the whole batch has been blended, then pour everything back into the pot, and simmer it again for another 30 minutes.

You're looking for a fairly thick soup at this point. 


When ready, stir in 1/3 of a cup of half-and-half, toss a pinch of parsley in the center (or any decorative way you feel like garnishing) and serve.

I like to have a nice chunk of some good French bread to go along with it. That, along with a glass of wine and you have a great way to welcome in the cooler Fall weather.


Enjoy!

Sunday, September 29, 2013

Chicken Fried Unicorn with Mushroom Cream Sauce

Unicorn? Yeah, that's what I call Axis Venison.
Sorry little fella, them's the breaks.

Axis - also called Chital (Latin name Axis Axis) - are a type of deer native to India and Sri Lanka and were introduced to Texas back in 1932. They are prolific to the point that there is no seasonal hunting restriction on them, but around Austin, they are not too easy to find, which is why I call em Unicorn. And when a friend of mine gifted me a beautiful section of Axis backstrap last Winter, I knew I needed to make something special out of it.

Axis are are not only one of the best tasting and most tender wild game meats in the world, they're also the leanest of all mammals (99.8% fat-free). Of course, the dish I decided to make completely ignores that fact.

Normally I like to sear venison in a hot pan with balsamic vinegar and some shallots, then finish it in the oven for a few minutes. This time I went with a chicken-fried style and served it with a mushroom cream sauce that was mind-blowingly good.

For the Unicorn:
2 lb venison backstrap (tenderloin will also work) cut into 1/4" slices
10 oz of whole milk (get a pint. You will use the whole thing in the recipe)
6 tablespoons of vegetable oil (maybe more. It depends)
2 cups of flour
2 eggs
salt and pepper to taste

For the Sauce:
1/2 of a medium sized yellow onion, finely diced
1 portabello mushroom
1/4 cup of white wine
1 tablespoon of dried sage leaves
3 tablespoons of flour
6 oz of whole milk.
3 tablespoons of unsalted butter
1/2 cup of water (as necessary)
salt and pepper to taste

To cook up the backstrap, first remove the silver skin. This is a nasty strip of connective tissue found in most animals that doesn't break down in the cooking process and is pretty-much inedible. (Ian Knauer from Gourmet.com has a simple technique to remove silver skin from meat.)

Once the silver skin is removed, cut the backstrap into 1/4" slices and place them in a bowl. Cover the slices with about 10 ounces whole milk and let them sit in the fridge for about an hour. The milk helps make the meat even more tender. (It sounds weird, but trust me, it works)

When ready, heat vegetable oil in a pan under medium high heat until the oil shimmers. This is how you know its the right temp.

Make a dredging bath for the venison by mixing two eggs and a splash of milk in a bowl.

Take each venison slice, dredge it in flour, dip it in the egg/milk bath, then dredge it back into the flour again. Bang off any excess flour and place it (carefully) in the pan. Let it fry for about two minutes, then turn it over and cook about two minutes more. Pull it out of the pan and let it rest on a dish with some paper towels.

Once all the meat is fried up, turn your attention to the the mind-blowingly good mushroom cream sauce...

Normally I would want to use the same pan, but the oil and leftover flower is just too much for this sauce so I dirtied up another pan. It was SO worth it.

Saute up some finely diced onion until they are translucent. Add a portabello mushroom cut into small chunks add a little salt and continue to saute.

When the mushrooms have reduced, add 1/4 cup of white wine and let the mixture simmer till the wine gets absorbed.
Pro Tip: NEVER use so-called "cooking wine." Only use wine you're willing to drink.  If it aint' worth drinkin', it aint' worth cookin'. 
Add 1 tablespoon of dried sage - I like to place the sage in my palm and crumble it between my hands over the pan.

Add 2 tablespoons of flour and stir to coat the ingredients.

Stir in the remaining milk and let it return to a simmer.

Add 2 tablespoons of butter right at the end and stir everything together.

You may need to add a little water at the end to make it the right consistency and add the salt and pepper at the end to taste.

Drizzle the sauce over the venison when ready to serve, along with the veggie of your choice (I had some frozen Brussel sprouts, so I steamed them till tender, then tossed them in a hot pan with a little olive oil and balsamic vinegar (because I love olive oil and balsamic and cant get enough of it)


By the way, I apologize that there are no pictures in this post. I'm finding it difficult to take pictures of the cooking process for some dishes. Such was the case with this one. My hands were covered in a combination of deer blood, egg yolk and flour and wholly not appropriate for manning any type of camera. I'll try to enlist someone to take pictures for me next time.

Tuesday, September 17, 2013

Review: The League Kitchen and Tavern

Opened in October of last year, owners Tony Ciola  and Creed Ford IV decided to change the format of Tony's Lakeway restaurant - formerly known as Ciola's Italian Restaurant - into something a bit more upper-class, designed for the affluent, (dare I say "trendy") inhabitants of the Lakeway area. And the place has the decor (and price tags) to match.

Its standard American food with an aire of Lakeway snootiness - ($13 burgers, $14 fish and chips, etc.) You can tell just walking through the doors that Tony and Creed have worked very hard to create a mood for the place. Apparently they want it to resemble the days of speakeasys and boardwalk-style eateries of the 1920's (only at about 40 times the price, of course). Im not sure they succeeded, but the fake pressed tin ceiling and retro looking drop lamps help with the fascade. I mean, the place is located in a strip mall, so you cant really expect miracles, here.

The restaurant is split in half with the restaurant on the right and the tavern on the left. Two big red neon signs direct you to your desired destination. Since this was a lunch date on a Monday, we went for the food.

One wall of the restaurant is covered in a giant old time photo of hundreds of people posing for a picture at the turn of the century. Its kinda neat - but when you are sitting at the booth all you see is an abstract blur of ghost-like faces silently staring at you.

The bathrooms are spartan, but nice - though when I was there they were out of towels, leaving me to wipe my wet hands on my pants. The men's room is covered with photos of Sophia Loren (the infamous shot of her staring at Jayne Mansfield's cleavage sits at eye level over the urinal). I fully approve. I'm told that the women's bathroom is filled with pictures of Frank Sinatra and Dean Martin.

My concern for the place began the minute we walked in the door. The host wasn't there when we walked in, presumably doing something else, though the place wasn't very crowded for a Monday at noon. We stood there for about 30 seconds with that confused "do we seat ourselves?" look on our faces when she finally appeared. She seemed annoyed that she had to greet us. Never smiled once. Her only words were "Two?" as she grabbed some menus and quickly walked us to our booth. Instantly I got the feeling like she was some spoiled high school graduate that didn't like her job and was bothered that we were interrupting her texting.

Our server was a portly, neck-bearded, yet amicable fellow. He was friendly, but didn't bother to inform us of the daily specials and wasn't too quick on the drink refills.

On Mondays they have a two for one burger special, so we thought we'd give it a try.  I had the "All American Burger" - a half pound patty with lettuce, tomato and a fried egg.  My girlfriend had the "Southern Burger" which is served with sugar cured bacon, cheddar cheese fried onion strings and "Brooklyn BBQ sauce" which I guess for most Texans means "spicy, but not jalapeno flavored." Both burgers came with a couple chunks of horseradish pickle - it was like a bread and butter pickle that was soaked in a horseradish brine. Interesting. The burgers also come with fries which were nothing to write home about. A bit soggy and limp. Not crisp and flavorful as one would expect from a restaurant catering to the Lakeway crowd. For $2 more you can get the "truffle fries," which are the same fries tossed with a blend of truffle salt and Parmesan cheese and served with a side of garlic aioli (pro tip: you know you're in a fancy restaurant when they call their flavored mayo "aioli.")


We asked for our burgers to be cooked medium rare, but while my girlfriend's was an acceptable level of doneness, mine was much more on the rare than the medium side. Now, dont get me wrong: I love rare meat, but when it comes to hamburger, I kinda want it cooked a little more. Medium rare should be cooked so its mostly medium with only a small portion in the center being pink. Mine was a thin layer of medium and raw in the center.

On the plus side, I have to say that the flavors of the burgers were very good. Juicy, messy, and lots of flavor. The way a good burger should be. Were it not for mine being just a bit too rare, I'd have given this place much higher marks.

On the way out, we thanked our server and walked towards the door. I made it a point to say thank you to our host - which garnered at least a response from her - she was head-down texting away on her iPhone, but at least she looked up. Still no smile, though.

Overall rating out of 10: I'd give The League Restaurant and Tavern a 6. My experience was less than ideal, but its still not outside the realm of possibility that I might return to try them a second time. Maybe I caught them on an off day. Mondays are typically very slow for most restaurants, so perhaps they had their "B" team working. Not sure.

If you are looking for a decent local neighborhood restaurant, I'd say that the League will reasonably fit the bill. If you are looking for more ambiance and more of that "Speakeasy" feel, I'd instead recommend driving a mile down the road to "The Syndicate" and get a much better experience.


The League Kitchen and Tavern
1310 Ranch Road 620, Lakeway
http://www.leaguelakeway.com


Thursday, September 5, 2013

Teriyaki Honey Glazed Grilled Chicken Thighs

Chicken thighs are a great meat to work with. First of all, they're cheap as hell. I can usually find bone-in, skin-on chicken thighs for $1/ lb. Chicken is also a pretty healthy: It's lower in fat and calories than other meats. A three ounce serving of chicken thigh can contain 21 grams of protein, no carbohydrates, and a good source of iron. Granted, thighs have a little more fat than chicken breasts, but if you eat it with the skin off, the fat content is about the same. And because they're fattier, thighs don't dry out as quickly, which makes them ideal for grilling on the BBQ. They also contain more zinc than breasts, so that's a plus, too.

Did I mention a dollar a pound? Yeah, I thought so.

So here's an idea for a quick grilled chicken thigh dish on a weeknight. Total prep/ cook time is about 20-30 minutes:

First, prep your grill. Get it and hot and clean. Then work on the glaze...

Depending on how much you like garlic (and I LOVE garlic), use two, three or four cloves. These little fellas were the last of a head, and they were kinda tiny so I decided to use them all. 

Chop the garlic into a fine mince.


In a bowl add the minced garlic, 1/4 cup of honey and two tablespoons of teriyaki sauce. You can use soy sauce if you want, but I like the flavor of teriyaki, especially on a BBQ.

Here's the victim for the evening: skin on, bone in. I rinsed them, patted them dry, then brushed them with olive oil and dusted them with a little Kosher salt and frehs coarse-ground black pepper.

Since the grill was already hot, I sliced up a zucchini and also did the olive oil/salt/pepper treatment. 

Everything is ready to go. Total prep time at this point is maybe 10-15 minutes.

Once the grill was hot and clean, oil the bars with a paper towel soaked in olive oil. Turn the heat down to medium and place the chicken skin side down to start. Turn them over after about 5 minutes and grill them another 4-5 minutes until the juices run clear or the internal temperature with an instant-read thermometer hits 180.

Beware of flareups! The fat from these are going to drip down and cause lots of flames, so make sure you work your grill with a safety zone - a cool section of the grill that you can move the meat if the flames start getting crazy. You want a little char taste, but you dont want them burnt. 

In the last few minutes of grilling, baste the meat with the garlic/ honey/ teriyaki glaze. You dont want to do this too early in the process or the garlic will burn and become bitter. 

And there you go! Teriyaki/ honey glazed grilled chicken.

I love placing the grilled zucchini in a dish with a little balsamic vinegar. The zukes come out really sweet this way.

If you liked this recipe, let me know.

Enjoy!

Wednesday, August 7, 2013

Smoked Chicken

It was my last day of a four day weekend and I decided that it was time to see how my new-found Craigslist smoker does with chicken.

I've already identified the design flaws in this smoker and will (one of these days) make the necessary mods to make this an award winning cooking device, but for right now, it's time to smoke some chicken!

As with most BBQ/ Smoked meat dishes, there are a billion different ways to accomplish anything. Here's the way I did it:


I made up a mix of apples, onions, limes and garlic to stuff inside the cavity of the bird. This should help to keep it moist and will add some wonderful flavor to the meat. Im also using applewood chips for the smoke, so Im hoping this will work well together. 

Here's my bird all trussed up and ready to go. I rubbed some olive oil over the skin and then sprinkled some paprika for color. 
What? You say you've never trussed up a chicken? It's really simple, actually. Chef Brian Polcyn has a fun little video that shows you how. Click the link and follow along at home. 

Applewood chips soaking in water. You could use chunks, but for a short smoke like this chicken, chips should do just fine.
ON THE SMOKE: I prepped my grill by filling the fire box with about 8 lbs of charcoal. I then put a handful of briquettes into my chimney starter (that thing in the background) and got them going, then added them to the unlit charcoal. This technique is called the Minion Method and is designed to ignite the charcoal slowly so it stays at temperature longer. You could just light them all at once and hope for the best, but you'd be replacing charcoal halfway (or more) through the process and that just seems silly. This way allows me to have a clean, even temp smoke for about 3.5 hours.

This type of smoker uses a water pan that helps to regulate the temp inside the unit. Once the coals are lit, I place the smoker body over the fire box, add the water pan and fill it with boiling water. Adding boiling water at the start prevents you from having to spend precious heat energy and time waiting to bring the water pan up to temp.


Using an instant read thermometer inserted into the thigh, you're aiming for an internal temp of 175-180. However, after 3 hours, my little smoker wasnt quite hot enough to produce this, so I tossed the bird into a 350 degree oven for about 20 minutes. This also helps crisp up the skin that smoking usually cant provide. Wrap the chicken in tin foil and let it rest for a good 10 minutes to let the juices incorporate back into the fibers of the meat.


The Verdict:

If you've never tried smoked chicken before, you really are missing out on a treat. This had a wonderful sweet smoky flavor with a hint of lime from the stuffing in the cavity. I served this with my quick roasted potato recipe along with some nice steamed broccoli with a squeeze of lime on it.  Fantastic.


Enjoy!


Friday, August 2, 2013

Roasted Tomatillo Salsa

This past Spring we scavenged wood from around the neighborhood to expand the garden. Since growing anything in the soil in my area requires dynamite, raised beds are the only way to go.

This is the first time I've grown tomatillos and I was happy to see these big bushy plants producing fruit. Tomatillos (also known by some as husk tomatos) are a part of the nightshade family (just like tomatoes)  and originated in Mexico as a common ingredient in Mexican dishes. Some of the plants that I started in March were ready the other day, so I harvested a few and decided to make a salsa to top some venison backstrap I was going to prepare for dinner. 


In the jungle, the mighty jungle... Tomatillo and eggplant in the foreground, tomatoes in the middle and the vine-covered structure in the background is my gourd/ bean house. (I had an old gazebo that I wasn't using so we turned it into a growing trellis) 

Extreme measures were needed to protect my tomato and tomatillo crop from sensless bird and critter attacks. Cages, fencing, netting, and a bodyguard were all employed.

He's a little worse for wear, but Little Lurko here is always watching and protecting my crop.
Not much of a harvest, but it'll do. The tomatillos have an outer husk on them that helps to show when they are ready to be harvested. The husk grows first, then the fruit grows inside it. When the husk splits open, it's time to pick them. 
I was going to char these in the BBQ outdoors, but I chose instead to do these under the broiler in the oven. 
Just wash them, toss a few cloves of garlic and burn em till they're black and messy.  
Naturally, with charcoal you will impart an even better smoky flavor.
Believe it or not, but this is almost not cooked enough.

Here's the result of the charring. Kinda sad looking, but these little guys are flavor ninjas. Just when you think they are ruined, you taste one and it turns out to be amazing. And the flavor it imparts to salsa really makes it stand out.

Into the food processor it goes, along with some tomatoes also harvested today.

I also added a handful of basil. Traditionally cilantro would be used, but my basil plants are exploding right now, so I figured I'd use them instead.

Process this all up along with some onions, olive oil, salt and pepper and some additional garlic. (I only had four fresh cloves to roast up, so I had to break out the "emergency garlic" - a jar of pre-minced stuff from the store.

The mixture was PERFECT. In fact, it was a battle for this salsa to make it to the plate. 

And voila - breaded venison backstrap with charred tomatillo salsa. I threw a splash of balsamic on the plate just because I like the flavor. It certainly didnt hurt things!

Enjoy!